
Polygon Annotation: How to Label Objects for Image Segmentation
 Lisa Uspenyeva
Polygon annotation outlines objects point by point for semantic and instance segmentation. Learn the Polygon tool: snapping, auto-points, editing and hotkeys.
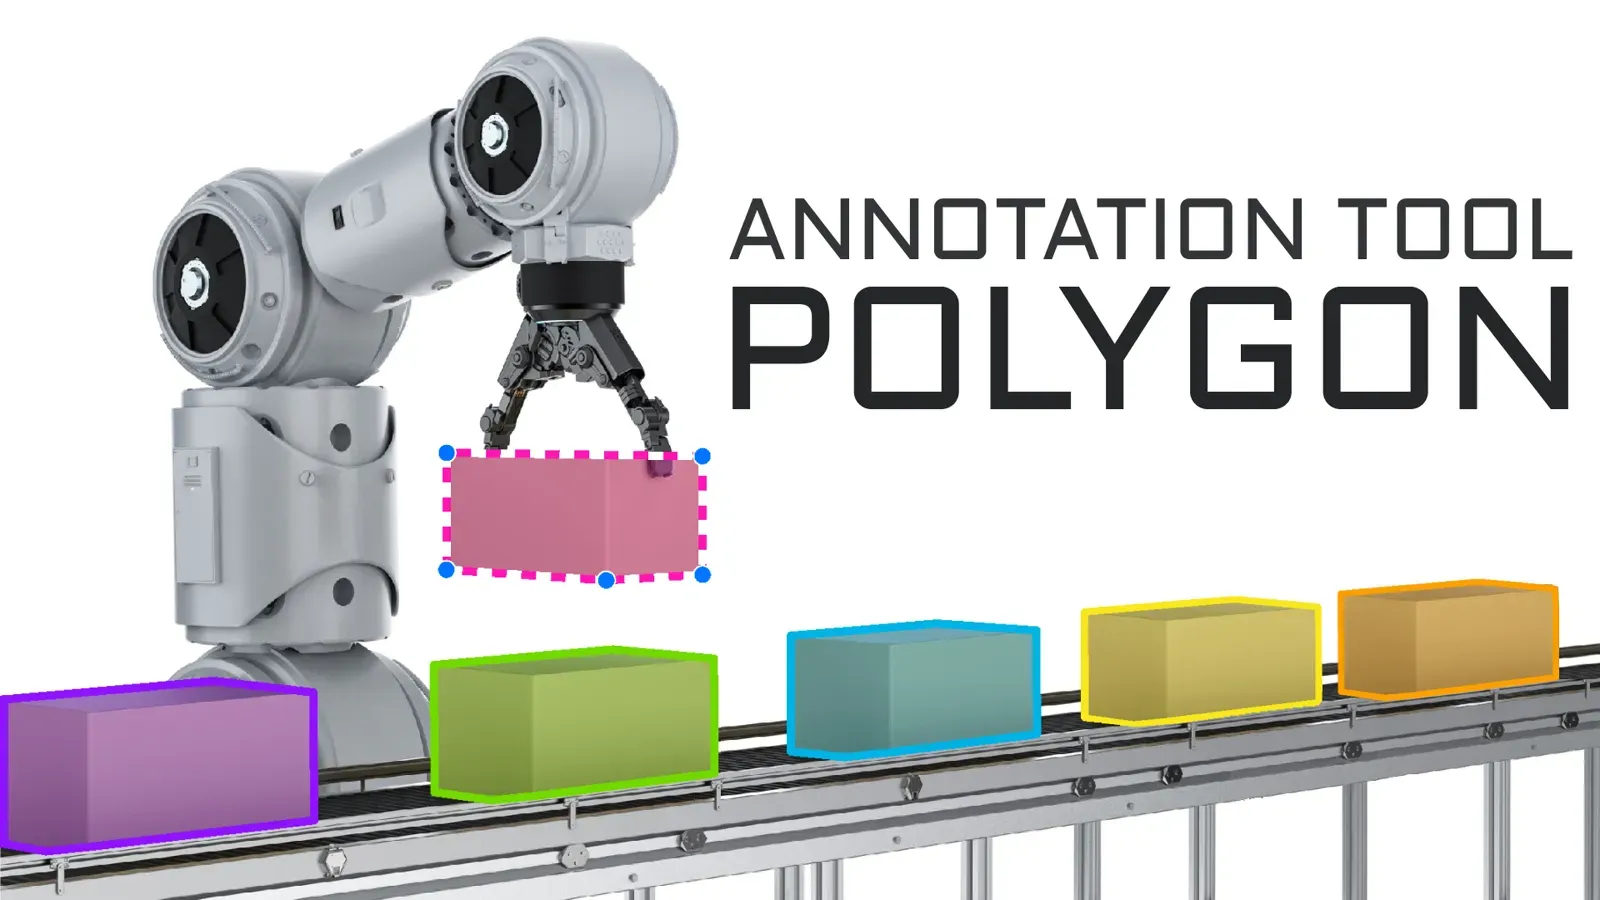
Polygon annotation outlines an object by clicking a series of points around its edge. The result is a shape that follows the object's real contour, which makes it a standard way to label data for semantic and instance segmentation. This guide shows how the Supervisely Polygon tool works and which techniques make polygon labeling faster.
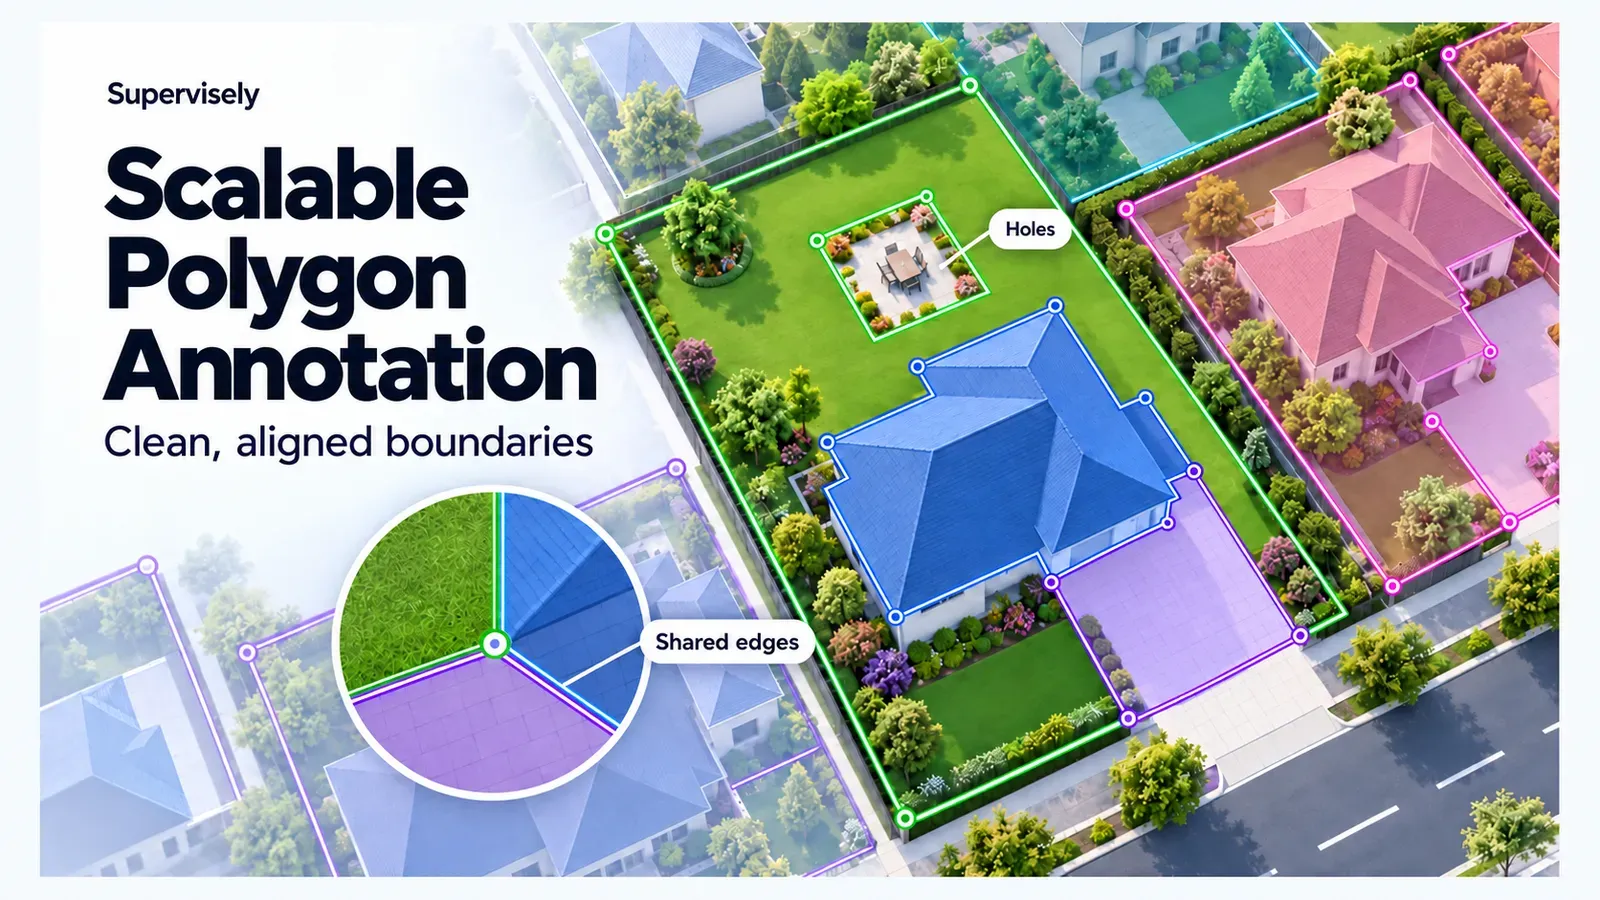
The Supervisely image labeling toolbox has a completely redesigned Polygon tool that makes manual annotation more convenient. Its docs page lists every option. For a geospatial workflow with shared boundaries and holes, read Scalable Polygon Annotation.
What is polygon annotation?
In computer vision, there are several tools available for manual image annotation, and among them, the Polygon tool stands out as one of the most widely used.
The Polygon is a powerful tool for outlining the boundaries of objects in images or other data. It works by connecting a series of points to create polygonal figures that accurately represent the shape of an object. Polygon annotation is used for both semantic and instance segmentation tasks in computer vision. In semantic segmentation every pixel gets a class, and objects of the same class are not told apart. In instance segmentation each object gets its own outline, so two cars are two separate objects.
Unlike bounding boxes, which represent rectangles drawn with just two points, Polygons can contain any number of points, making them much more flexible for annotation. Polygon follows the contours of an object rather than enclosing it. Polygon tool excels at precision, making it ideal for complex or irregular object outlines, and is also speedy for simple geometric annotations.
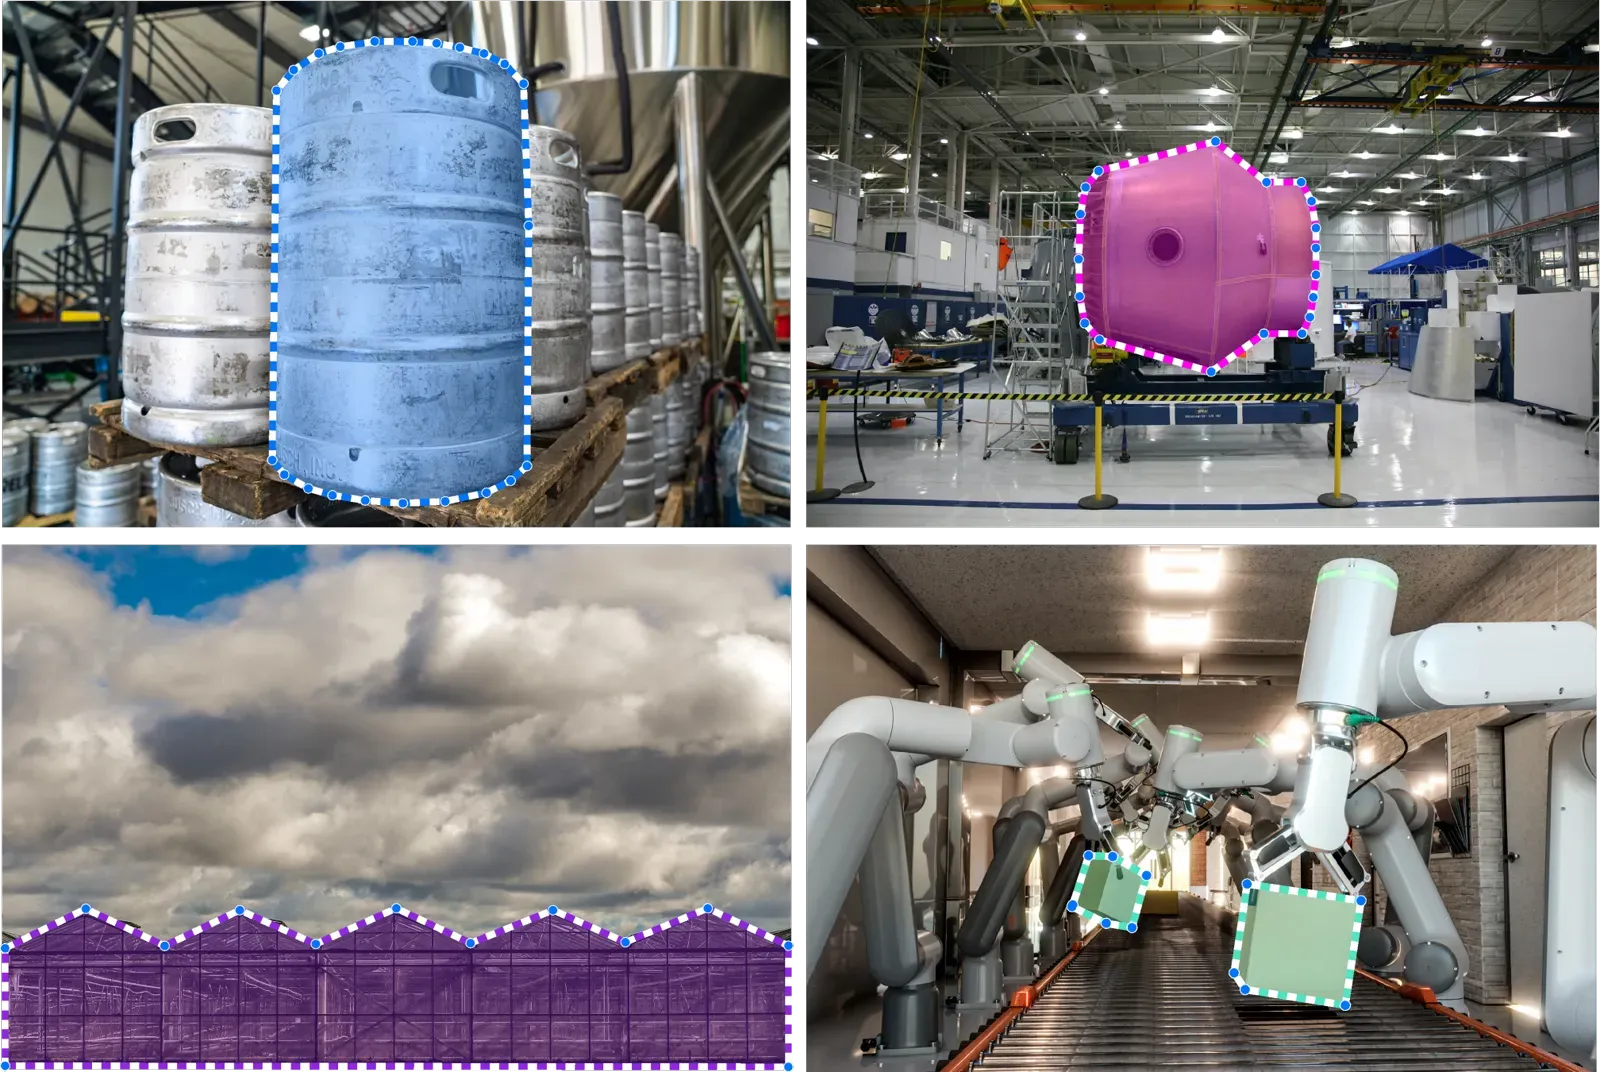 Polygon annotation for industrial inspection, manufacturing, quality control and agriculture industries: Polygons on petrol barrel, rocket parts, robotic material handler and greenhouses
Annotation with Polygons is widely used in scenarios that require a high degree of precision in labeling, as exemplified in the following domains:
-
Medicine: It's useful for segmenting internal organ structures, such as tumors or organs like the gallbladder , and for real-time control of surgical instruments.
-
Automotive: Besides damage segmentation in vehicles, Polygonal annotation is employed in quality control within vehicle manufacturing and maintenance.
-
Agriculture: Monitors plant growth, farm machinery and infrastructure to optimise production processes and resources.
-
Industrial machinery: It can be used to accurately label various components and parts of machines. For example, in the maintenance of large equipment such as conveyors or production lines, polygons can be used to highlight and track the status of parts that require replacement or maintenance.
-
Infrastructure Inspection: Used for assessing road conditions, including identifying cracks, potholes, and pavement quality, as well as inspecting critical infrastructure like bridges and tunnels for maintenance and safety purposes.
How does the Polygon tool work? (Video tutorial)
Take a moment to watch our comprehensive 5-minute video tutorial, which provides clear and straightforward instructions on how to unlock the full capabilities of our newly enhanced Polygon annotation tool. This tutorial will also give you a better look at our new interface and labeling toolbox features.
How do you annotate with polygons? (Techniques)
1. How do you create a polygon in a few clicks?
You can create the Polygon around an object by simply clicking along its outline and adding points. To complete the figure, press SPACE or return to the starting 🟢 point. It's fast and convenient, especially for objects with geometric shapes.
2. How do you fine-tune a polygon?
You can easily adjust existing Polygons by moving, adding, or removing points as needed.
3. How does Auto-Select simplify editing?
The Auto-Select feature streamlines Polygon editing by automatically selecting the Polygons upon hovering the cursor over them. This simplifies the process of making modifications or adjustments, eliminating the need for manual selection.
4. How do you add or remove areas of a polygon?
Correct errors in an existing annotation, regardless of whether they were manually created or generated through neural networks. Now, you can effortlessly remove unwanted sections and append new ones by specifying new connecting points on the shape.
5. Polygon Snapping tool for Objects Linking
We've improved contour connections for objects, allowing automatic linking without the need for precise alignment to individual object boundaries. This simplifies the process of seamlessly connecting object contours. To utilize this feature, move your cursor over a labeled object, and click on the nearest point and any subsequent points along the boundary to join the shapes.
6. How do you place points automatically?
Simply hold the SHIFT key and drag your cursor along the object to automatically set points, making it perfect for objects with smooth and non-linear contours. To add or remove a labeled area, first select or place a starting point, then continue by holding SHIFT to segment the area, and finish the path at any existing point.
7. Visualization Settings
Tailor your settings to suit your needs by adjusting opacity levels, customizing borders, selecting random colors for Polygons while annotating.
8. Polygon tool hotkeys
Control the Polygon tool more efficiently with HOTKEYS.
| Minimum 3 points required |
|---|
Start & add point - CLICK |
Add point on edge - CLICK |
Move point - Drag |
Remove point - SHIFT + CLICK |
Finish - SPACE |
Finish - CLICK THE FIRST POINT |
| Auto-Placement of points |
|---|
Instead of clicking multiple times, you can hold both SHIFT and LEFT MOUSE BUTTON and draw a line. |
| Replace edges in existing Polygon |
|---|
| Click any point, draw a polyline, finish by clicking any other point. |
| Scene Navigation |
|---|
Zoom with MOUSE WHEEL. Hold RIGHT MOUSE BUTTON to move scene. |
Polygon vs bounding box vs mask: which one to use?
A bounding box is a rectangle drawn with two points. It tells a model where an object is, but not its shape. A polygon can have any number of points, so it follows the object's contour. Use a polygon when the shape matters. For irregular areas with no clear corners, such as damage or rot, the Brush tool is often a better fit. The overview of manual segmentation methods compares ways to label complex scenes.
Conclusion
The use of the newly improved Polygon annotation tool in Supervisely brings convenience and efficiency to the manual annotation process for semantic segmentation task. With a plenty of new features, annotating objects with Polygons has never been easier.
Frequently asked questions
What is polygon annotation?
Polygon annotation outlines an object by connecting a series of points around its edge. Unlike a bounding box, a polygon can have any number of points, so it follows the contour of the object. It is used for semantic and instance segmentation.
What is the difference between a polygon and a bounding box?
A bounding box is a rectangle drawn with two points. A polygon can have any number of points and follows the contour of the object, so it is more precise for complex or irregular outlines.
What is the difference between semantic and instance segmentation?
Semantic segmentation assigns a class to every pixel and does not separate objects of the same class. Instance segmentation outlines each object separately, so two cars get two objects. Polygons can be used for both.
How do I close a polygon?
A polygon needs at least 3 points. Press SPACE or click the first point to finish it. SHIFT + click removes a point, and dragging moves it.
How do I place polygon points faster on curved objects?
Hold SHIFT and the left mouse button and drag along the object. The tool places the points automatically, which suits smooth, non-linear contours.
How do I connect neighboring polygons without gaps?
Use polygon snapping. Hover over a labeled object, click the nearest point on its outline and then a later point along the boundary. The new polygon reuses the existing edge, so the contours join without precise alignment.